Going "paperless" has a virtual cornucopia of advantages. For one, it's a marvelous way to remove physical clutter. But more than that, once your paper documents have been scanned in to your computer you'll be able to access them easily (and from any device) -- turning your paper documents into digital files makes them easy to sort and search for (because with today's technology, they can be scanned papers can be turned into computer-readable PDF documents).
Is going paperless easy? Why, yes. It simply comes to down to having the right tools and then building habits around digitizing your dead trees. Are you ready to leave paper behind?
We'll help walk you through it.
If you've got stacks and stacks of paper already, you've simply got to start somewhere. We say start by dividing things up into smaller projects. Don't look at your 5 boxes of paper as one large project. Break it up into more management chunks. Maybe grab a handful of papers every night after dinner and scan them in. You'll eventually get to all of it.
Once you get on top of your existing backlog, just keep at it. Don't let piles of paper build up for weeks at a time. Decide on the frequency that you'll process any new bills, documents, etc. Some may need to process stuff daily, while others may only need one day per week (or month) to process any papers in the inbox.
TL;DR
The long and the short of it is this: You need a scanner, a shredder, and a time in your week when you'll scan the documents.
- We think the Doxie One is the best scanner for most folks at home. It's just $99 and takes up hardly any space.
- The AmazonBasics shredder is well made, can cross cut up to 12 pages at a time, and it costs a mere $50.
The Doxie One scanner and the AmazonBasics shredder will have you up and running for just $149. Not bad to clear your office (and your mind) of all that paperwork clutter.
Now, if you want more details keep reading. Below we talk about why we like this hardware, and we give information on how to orgainze your scanned documents.
Home Scanners
To start digitizing piles of paper, you're going to need a scanner.
If you have piles, boxes, and/or filing cabinet drawers worth of paper to scan, the best way is with a sheet-fed scanner. These types of scanners can handle a lot of documents easily and quickly. However, once you're done with the initial onset of scanning, the large sheet-fed scanners are probably going to be overkill.
So your options for getting started are to either borrow a friend's sheet-fed scanner, hire a service to help you, or buy a more compact single-page document scanner and slowly work your way through your backlog of paperwork. The latter option is time consuming, but if you tackle a little bit at a time, you will get it all done.
So, which scanner should you get? Here are a few that we recommend.
The Doxie One Scanner -- the one you probably should get
The Doxie One is a great scanner that we think most folks should get. At $99, it's very affordable and is a quality device.

The Doxie One is affordable and incredibly easy to use.
It doesn't require a PC or a Mac in order to actually scan. This makes it extremely convenient around the office or at home. It's small enough you can keep it in a drawer or on a shelf -- wherever is most convenient. It saves the scans to an included SD card. You can then import your scans to your Mac (or your iPad using the SD to Lightning adaptor). It can also hook up to a Mac with a USB connection if you want to bypass the SD card.
If you've ever dealt with bad scanner software in the past, guess what: it's not terrible anymore. It's actually fantastic. The Doxie app has OCR support and can sync your scans to Dropbox, Evernote, Google Drive, or OneNote. It also includes built in sharing to AirDrop or iMessage.
If you need a battery-powered scanner that you can keep in the car or transport between home and work, you may be interested in to the Doxie Go. This device works off battery power, so it's great for someone who needs to scan on the go.
The Doxie scanners are ideal for folks who don't deal with piles and piles of paper every single day. They're fast, well-made, and very affordable.
Fujitsu ScanSnap iX500 -- for professional-grade scanning
If you need to crunch through a lot of paper in a short amount of time, then want the Fujitsu ScanSnap iX500. It's not cheap, but it's worth the price. The ScanSnap iX500 is widely regarded as the cream of the crop when it comes to processing a large stack of documents in a hurry.

This scanner can handle anything you can throw at it.
It connects to your devices via Wi-Fi (Mac or iOS) or via USB. Like the Doxie One, the iX500 supports direct scanning to many cloud services such as Evernote, Dropbox, Google Docs, Salesforce, and SugarSync. It can scan 25 pages per minute and has a 50 page automatic document feeder. It's advanced paper feeder system allows you to load up a mixture of documents, magazine clippings, and business cards into one scanning session.
Fujitsu also has the Fujitsu ScanSnap iX100 Wireless Mobile Scanner that is similar to the Doxie Go products. It's battery powered, can scan a color document to a Mac or iOS device in 5.2 seconds, and works over Wi-Fi to scan directly to your Mac, iPhone, or iPad.
iPhone and iPad Scanning apps
With the rise of the smartphone, we've now got incredible cameras in our pockets. While they certainly aren't as fast as a Doxie One or a Scansnap, they can certainly be convenient when you only have one or two receipts to scan and process. Here are a few that we like:
Scanbot -- our favorite iPhone scanning app
Scanbot is one of the newest entries in the scanner app category. Scanbot is free with $5 in-app purchase that makes the app much more powerful. The IAP makes it our favorite scanner (check out our review on The Sweet Setup) because it adds OCR support, smart file naming, basic editing features, and more. With easy uploading to cloud services, it's a great choice for scanning documents from your iOS device and then saving them to Dropbox, etc.
PDFpen -- a great suite of apps
Smile Software's PDFpen Scan+ ($7, universal) was one the first apps to perform OCR on an iPhone without the use of the cloud for processing, and it does a great job. Unfortunately, the process for scanning is hampered a bit by a slower multi-stage capture process. However, the biggest advantage PDFpen Scan+ has over Scanbot is that it is part of an entire ecosystem. PDFpen and PDFpen Pro run both on the Mac and iOS. Scanning a file is an entry point into these powerful PDF tools for editing PDFs, creating forms, and more. Scanbot is a great app, but PDFpen is a great family of apps. If that's important to you — and to many it is — give PDFpen a look.
Organizing and software
Scanning is the first half of the battle. Once you get your documents digitized, what should you do with them? Modern computing gives us a lot of options.
To start, we recommend setting up a logical folder and sub-folder organization structure for where you store your documents on your computer. This can mimic the box or file-folder structure you already have with your paper documents, or it can be a new organization structure.
We use folders based on year and then type of document. Such as:
- 2015
- Utility Bills
- Medical Bills and Paperwork
- Automotive
- Receipts
- House Paperwork
- Other Documents
Because your scanning software will turn your scanned document into a searchable PDF (meaning your computer can read the words in the document), having a simple folder structure will make it more than easy enough to find the document you need if and when you need it.
But there are even ways to automate the naming and filing of incoming document scans...
Hazel
If you use a Mac, you should consider Hazel to be your Mac's personal organizer. Hazel runs in the background and watches for any tasks you've assigned to it. Thus, once it's been setup, you don't have to touch or think about it again.
To get Hazel working for you, start by save all your digitized documents into an “Incoming Scans” folder. Then, tell Hazel to watch this folder for specific types of documents. The documents we commonly deal with are things such as utility bills, health insurance documents, tax- deductible receipts, auto and home insurance statements, other financial statements, property tax receipts, etc.
Most of these different types of documents can easily be identified by your unique account number with that company. And since the incoming documents that you've scanned are searchable by the computer, you can set up a rule in Hazel to look at the contents of a document, and then, depending on which criteria that document matches, have Hazel rename the PDF and file it into the proper folder on your Mac.
For example: if the contents of a document contain the words “Water” and the numbers “55555555” then Hazel knows it's your water utility bill. Thus, it can rename the document to “Water Utility Bill – 2015-01” and move it to your “Utility Bills” folder. Now digitizing and filing your papers is as simple as scanning them in and saving them. Hazel and your computer do the rest.
And for the few documents that don’t match any pre-defined criteria, or for which the OCR wasn’t properly rendered, those documents are simply left in your “Incoming Scans” folder and can be manually dealt with.
If you are going to be storing your documents directly on your Mac, we recommend storing them in Dropbox or Google Drive. This would allow you to access them from the web and your mobile devices.
If you want to learn more about combining Evernote with Hazel, you should check out this article over at Macworld.
Other tricks for paperless organization
- Convert Email to PDF on iOS: On of our biggest wish-list items for iOS would be that the Mail app would get access to the extensions share sheets. The task that we'd like to do most is convert an e-mail into a PDF so we can send it to Evernote. These will typically be receipts that we need to save for tax purposes. While Dispatch can do this natively, mobile Mail cannot.
Thankfully, a third-party service has stepped in to make this a possibility. PDF Convert.me is a free service that allows you to forward emails to a special email address, and it will return a PDF copy of that email in return. The attachment will then have access to the iOS share sheet. There is no account to sign up for — just forward an email to [email protected] and wait for the return email.
-
Evernote: Evernote is a great tool for going paperless. You create notes and notebooks for your documents. The great thing about the notes based system is that you scan store more than one document inside of a note. Evernote also has an incredible search function.
Evernote also includes a cloud based Optical Character Recognition (OCR) function. They wrote up a detailed blog back in 2013 that explains how it works. I've found it to be very useful if someone sends you a PDF or image that doesn't have any OCR data. You don't have to remember to do this prior to loading it into Evernote. Once it's loaded, all the OCR data will be added in the background.
One of the best things about Evernote is that it's everywhere. They have apps for for pretty much all computing platforms. This means that Evernote works for you even if you have Android phone, an iPad, a Mac at home, and a PC at work. All of your notes, notebooks, and tags will be everywhere.
One of my most used features of Evernote is the ability to send anything into Evernote from any email client. This allows you to extend Evernote almost everywhere. Before you can send things to your Evernote account through email, you need to know what your unique Evernote upload email address is. Luckily, it's really easy to find that out.
In Evernote on the Mac, click your name in the top left corner and go to Account Info. Your unique address is listed on the next screen.
In Evernote for iOS, open Settings > General and look for Evernote Email Address.
Evernote also allows you to customize what notebook and tags are applied to the note prior to sending the email. Tags can be chosen by using #Tag and you can select a notebook by using @Notebook Name.
Digital Security
One reason some people don't go paperless is the fear of ther digitized files getting hacked or discovered. One thing to remember is that your paper documents are only as secure as the locks on the door. Just because you can hold it in your hand, doesn't mean it can't be stolen. When it comes to digital security, there are a few tips we have:
- Add a passcode to your important PDFs. Many of the apps we recommend support this. Apple's built in Preview app also supports adding a passcode (in the save screen).
- Use 2-Factor authentication on any cloud service that you use for document storage. Google, Dropbox, and Evernote all support it.
- Enable File Vault 2 on your Mac.
Shredders
Once your documents are digitized, don't keep the paper around. Shred it! Because you're throwing away documents that include sensitive information, shredding those papers first is critical. Not to mention, this is the fun part.
Not just any shredder will do. You want to get one that does cross-cutting (which greatly improves the security of your shredded documents), and you want to get one that will be easy to use on a regular basis.
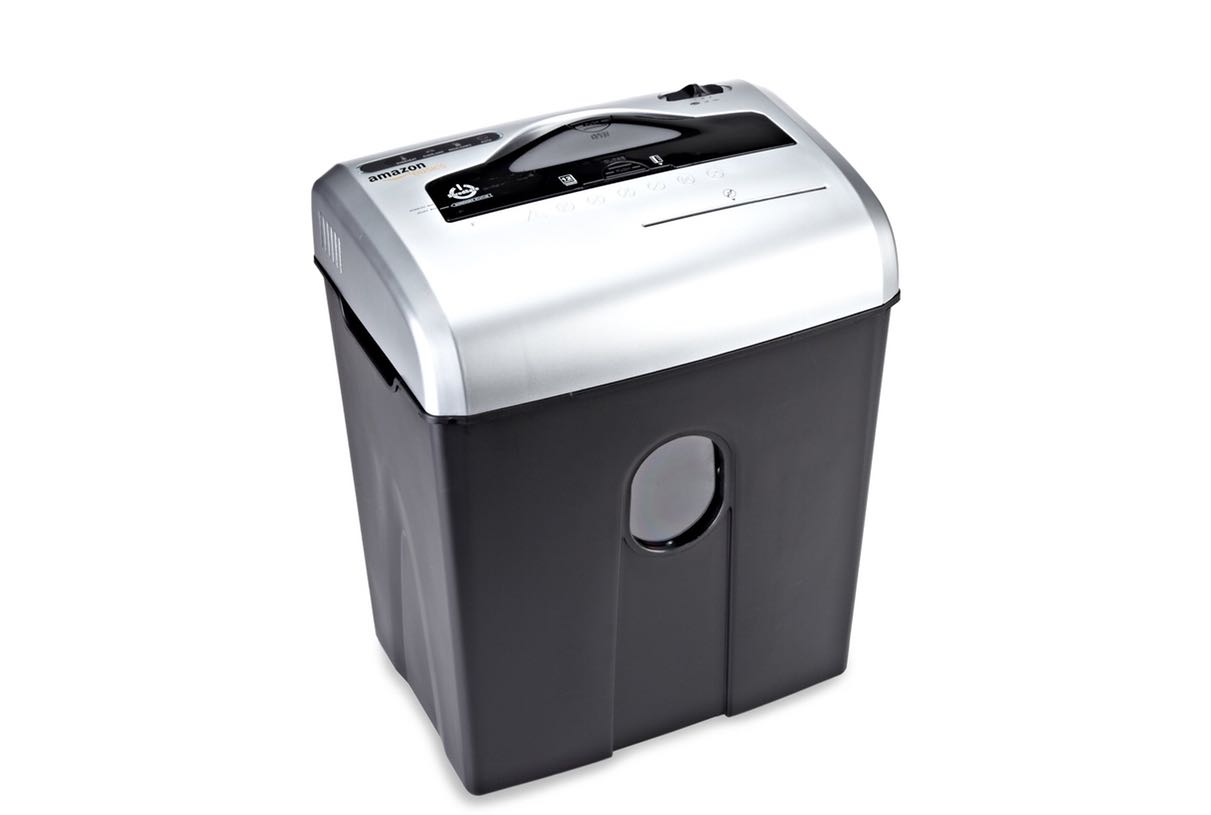
For $50, the AmazonBasics shredder is a workhorse.
-
For an affordable, high-quality shredder check out The AmazonBasics Shredder. It's a mere $50 and ships for free. It has a 12-sheet shredding capacity, a 4.8 gallon bin, cross cut shreds, and it can chew threw staples, CDs, and DVDs.
-
If you need more horsepower, check out the Fellows Powershred 79Ci. It will chew through 13 pages at a time, has a 6 gallon bin that pulls out (rather than a motor which sits on top), an indicator light letting you know the capacity of the basket, and it claims to be extremely quiet and 100% jam proof.
Wrap Up
While we gave you a lot of information to get started, the short of it is this:
- Get a scanner (the Doxie One)
- Get a shredder (the AmazonBasics)
- Start scanning
Our basic recommendations of the Doxie One scanner and the AmazonBasics shredder will have you up and running for just $150. Not a bad price to clear your office (and your mind) of all that paperwork clutter.
If you want to read more about going paperless, look no further than David Sparks' definitive ebook, Paperless.